Skip to content


The ultimate guide to deep cleaning your bathroom: banishing mold, restoring tiles, and making everything sparkle
Let’s face it—nobody wakes up excited to deep clean their bathroom. But we all love the results: gleaming tiles, spotless grout, and that fresh scent that screams “I’ve got my life together!” Whether you’re dealing with stubborn mold, grimy grout lines, or just want to transform your bathroom into the pristine sanctuary it was meant to be, I’ve got you covered with this comprehensive guide to bathroom deep cleaning.
The battle against bathroom mold
Nothing ruins a beautiful bathroom faster than those telltale black spots creeping along your shower walls or ceiling. Mold isn’t just unsightly—it’s potentially harmful to your health and absolutely needs to be addressed.
Understanding why your bathroom becomes mold central
Your bathroom is essentially a mold paradise. The combination of moisture, warmth, and organic matter (like soap scum) creates the perfect breeding ground for these unwelcome fungi. The CDC recommends keeping your home’s humidity levels below 50% to inhibit mold growth. But let’s be honest—your bathroom humidity skyrockets every time someone takes a hot shower.
Effective mold removal techniques
When it comes to eliminating existing mold, you’ve got several weapons in your arsenal:
Vinegar: The natural mold assassin
- Fill a spray bottle with undiluted white vinegar
- Saturate the moldy areas completely
- Let it sit for 30 minutes (this gives the vinegar time to penetrate and kill the mold)
- Scrub the area with a brush
- Spray again and wait another 30 minutes
- Rinse with warm water
Baking soda: The gentle scrubber
- Mix 1/2 cup baking soda with enough water to create a paste
- Apply directly to the moldy surface
- Let it sit for 10 minutes
- Scrub away the mold
- Rinse thoroughly
When to call the professionals
Some mold situations require expert intervention. If you spot mold on or behind drywall, or if your bathroom tiles are shifting (suggesting mold beneath the subfloor), it’s time to call in professional help. This isn’t just about aesthetics—it’s about structural integrity and preventing more extensive damage.
Preventing future mold invasions
The best way to deal with mold is to prevent it from gaining a foothold in the first place. Here’s your anti-mold game plan:
Ventilation: Your first line of defense
Proper airflow is absolutely crucial in bathroom mold prevention. Run your bathroom exhaust fan during your shower and for at least 30 minutes afterward to extract moisture-laden air. No fan? Crack a window or leave the door open to improve air circulation.
The humidity factor
Consider investing in a small dehumidifier for your bathroom if you live in a particularly humid climate. For small enclosed spaces like cabinets, moisture-absorbing products like silica gel packets can help keep things dry.
The post-shower routine
One of the simplest yet most effective habits is to wipe down wet surfaces after showering. Keep a squeegee handy and quickly run it over shower walls, glass doors, and even the floor to remove standing water. This five-second habit can save you hours of scrubbing later.
If you’re looking for a trusted and high-quality cleaning service in Buffalo, Tonawanda, or Amherst —
get a free quote online.
You can also call us at 716-289-1966.
Maintenance matters
Regularly inspect and promptly repair any leaking plumbing fixtures. Even small, seemingly insignificant leaks can create the perfect conditions for mold to flourish in hidden areas. Don’t forget to check under sinks and around toilet bases where leaks might not be immediately obvious.
Smart material choices
When renovating, consider applying mold-resistant paint on your bathroom walls. These paints are formulated with mildewcides that discourage fungal growth. Similarly, sealing grout with a waterproof sealant can prevent moisture penetration.
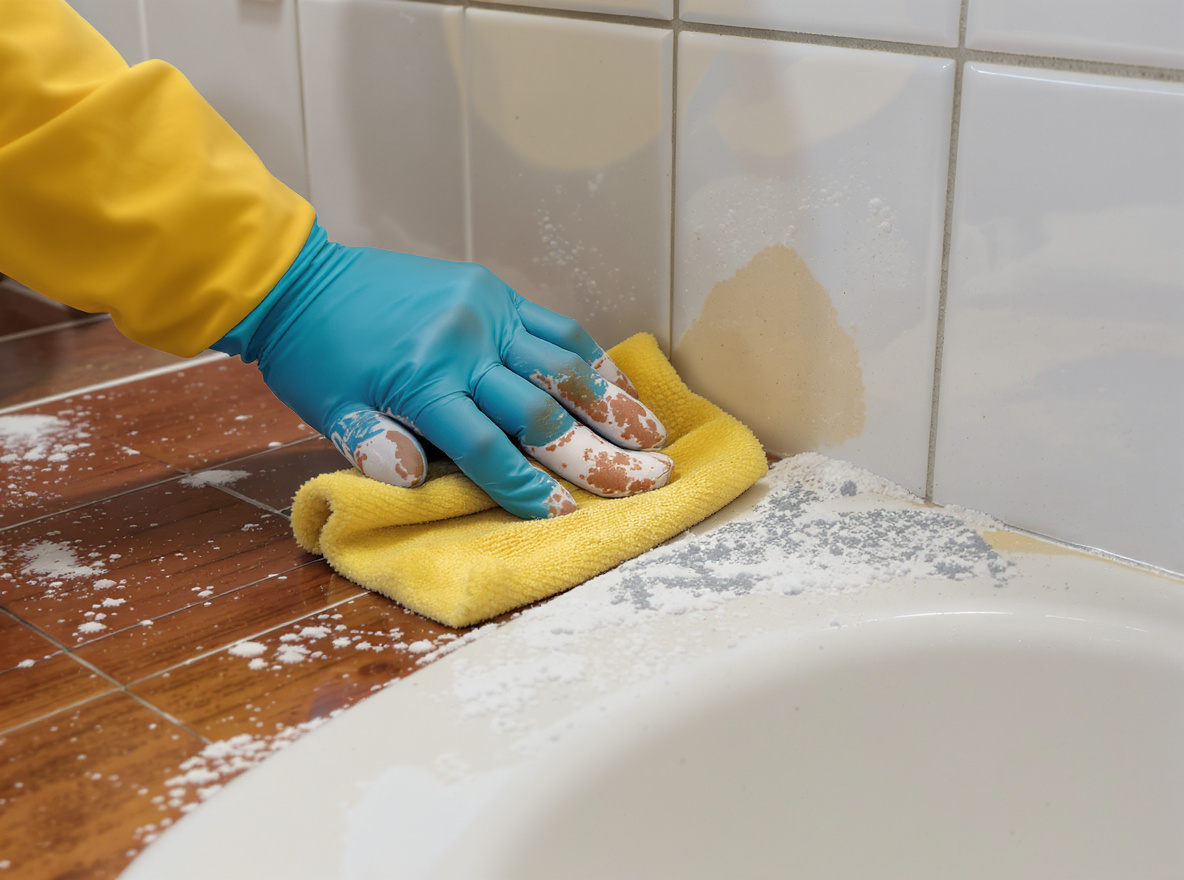
Tile and grout cleaning: restoring the shine
Nothing dates a bathroom faster than dingy, discolored grout lines. Let’s bring those tiles and grout back to their former glory.
Know your tiles before you clean
Different tile materials require different cleaning approaches:
- Ceramic and porcelain tiles: These hardy materials can handle most cleaning solutions, including vinegar and all-purpose cleaners.
- Natural stone tiles (marble, granite, slate): These are more delicate and can be damaged by acidic cleaners. For marble, terra cotta, and slate, avoid vinegar and ammonia. Use pH-neutral, mild detergents instead.
DIY grout cleaner that actually works
Here’s a homemade grout cleaner that can tackle even the grimiest lines:
- Fill a cup with warm water
- Add baking soda to give the mixture some grit
- Add a few drops of concentrated dish soap
- Mix thoroughly
- Pour white vinegar along the grout lines
- Apply your baking soda mixture on top
- Scrub with a stiff brush (not a toothbrush—go for a dedicated grout brush with stronger bristles)
- Let sit for five minutes, then scrub again
- Wipe away excess with a sponge
- Allow to dry completely (about 45 minutes)
For extremely stubborn stains, specialized grout cleaning tools with carbide tips can help remove the very top layer of stained grout.
Maintaining clean grout
Once you’ve restored your grout to its pristine condition, regular maintenance is key. Apply a grout sealer to prevent future staining and water infiltration. Plan to reseal your grout every 6-12 months depending on usage.
The complete bathroom deep cleaning routine
Now that we’ve covered the specialized areas, let’s put it all together into a comprehensive bathroom deep cleaning routine.
Step 1: Clear the decks
Remove everything from your bathroom—towels, bath mats, shower curtains, toiletries, trash cans. This gives you unobstructed access to all surfaces.
Step 2: Dust and sweep
Start from the top down. Dust light fixtures, vents, and the tops of door frames and windows. Sweep or vacuum the floor to remove loose debris.
Step 3: Run the fan and spray surfaces
Turn on your bathroom exhaust fan, then apply your cleaning solutions. For shower and tub surfaces, use a mold-fighting cleaner if needed. Let these solutions sit while you move on to other tasks.
Step 4: Tackle the toilet
Clean the toilet inside and out, paying special attention to the often-overlooked areas like the base and the back of the toilet.
Step 5: Address sink and counters
Clean your sink, faucets, and countertops. Don’t forget to clean the drain and underneath the counters.
Step 6: Scrub shower and tub
Return to your shower and tub areas, scrubbing the surfaces where cleaners have been working to loosen grime. Pay special attention to corners and caulking where mold likes to hide.
Step 7: Conquer the grout and tiles
Use your grout cleaner to address the grout lines throughout your bathroom. Work in sections to ensure thoroughness.
Step 8: Clean glass and mirrors
Use a streak-free glass cleaner for mirrors, shower doors, and glass surfaces.
Step 9: Mop the floor
Finish with the floor, working your way from the farthest corner toward the door.
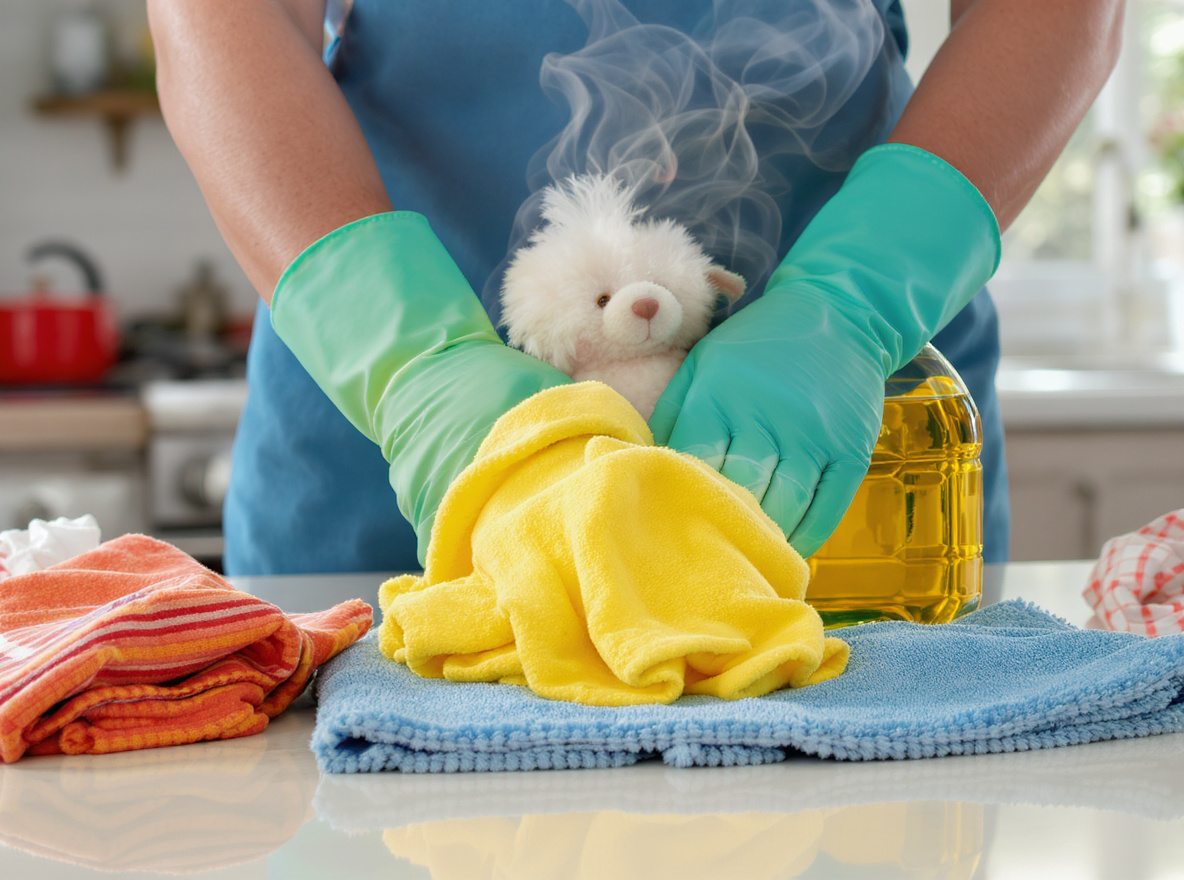
Step 10: Launder bathroom textiles
Wash bath mats, shower curtains, and hand towels. These items can harbor mold and bacteria if left damp.
Maintaining your sparkling clean bathroom
The secret to a consistently clean bathroom isn’t just in the deep clean—it’s in the daily and weekly habits that prevent buildup.
Daily habits
- Wipe down shower walls after use
- Keep the bathroom door open when not in use to improve airflow
- Hang towels so they can dry completely
- Quickly wipe up any standing water on counters or floors
Weekly tasks
- Clean toilet bowl and seat
- Wipe down counters and sink
- Clean mirrors
- Sweep and mop floors
- Spray shower walls with a daily shower cleaner
Monthly maintenance
- Check and clean drain covers and stoppers
- Wash shower curtain and liner
- Clean exhaust fan grill
- Check for any signs of mold or mildew
By combining these preventative measures with periodic deep cleaning, you’ll maintain a bathroom that’s not just clean, but healthier and more enjoyable to use. Plus, regular maintenance means each deep clean becomes progressively easier.
Remember, the best bathroom deep cleaning strategy is one that you can realistically maintain. Start with the problem areas that bother you most, establish new habits, and gradually work toward that magazine-worthy bathroom you deserve. Your sparkling clean bathroom awaits!

If maintaining a pristine bathroom seems overwhelming, you’re not alone. Many families in Buffalo, Amherst, and Tonawanda understand that finding the time to tackle such an extensive cleaning task can be a challenge. To ensure your home stays fresh and clean,
get a free quote online or call 716-289-1966 for a professional touch.
Local SEO-friendly paragraph
If you’re living in Buffalo and want your home to feel fresh and truly clean, a seasonal deep clean might be just what you need. In Tonawanda, many families rely on recurring services to stay ahead of the mess. And Amherst residents often choose move-out cleanings to impress landlords and secure their deposits.
Closing call-to-action paragraph
If you’re looking to bring some order and freshness into your space — you can always get a free quote online through STARCORE Cleaning. We’ll be happy to help you organize a quality cleaning service in Buffalo, Tonawanda, or Amherst at a fair price. Prefer to talk it through? Just give us a call: 716-289-1966. We’re here for you.
Frequently asked questions
1. How often should I deep clean my bathroom?
It’s best to deep clean your bathroom at least once a month, with regular maintenance in between.
2. What is the best way to remove soap scum?
A mixture of vinegar and baking soda works well for cutting through soap scum. Apply and scrub gently.
3. Can I use vinegar on granite or marble surfaces?
No, vinegar can damage natural stone surfaces. Use pH-neutral cleaners instead.
4. How can I prevent mold in my bathroom?
Ensure good ventilation, use a dehumidifier if needed, and wipe down surfaces after use.
5. What should I do if mold returns after cleaning?
If mold persists, consider contacting a professional to assess ventilation issues or possible hidden mold.
6. Is it safe to mix cleaning products?
No, avoid mixing different cleaning products, as this can create harmful reactions. Stick to one product at a time.