Skip to content

DIY cleanup mastery: the bold guide to post-DIY project cleaning
Let’s set the scene: your home is your canvas, your hands are paint-splattered, your spirit is high, and that DIY project you’ve poured your soul into is (finally) complete. Maybe you’ve painted a room, built those shelves you saw on Pinterest, or just finished a weekend of deep home improvement. But before you crack open a cold drink and bask in the glory, there’s one more (critical) thing standing between you and true satisfaction: the post-DIY project cleaning.
Because here’s the truth nobody tells you—the best project in the world means nothing if your place still looks like a construction zone. So let’s dig in. This isn’t your run-of-the-mill cleaning checklist—this is your no-nonsense, thoroughly entertaining, surprisingly therapeutic guide to clean after home DIY adventures.
Why post-DIY cleanup matters (a lot more than you think)
Cleaning up after a home DIY project isn’t just about aesthetics. It’s about reclaiming your space, protecting your investment (hello, that new floor needs more than hope to stay pristine), and turning chaos into comfort.
- Health & safety: Dust, debris, and leftover materials can be hazards—tripping, breathing, and staining hazards, to be exact.
- Project longevity: Paint splatters left to harden are a nightmare; sawdust in your furnace? Even worse.
- A fresh start: That feeling when your house gleams post-project? Priceless. It’s a mental reset, a palpable refresh home after project vibe.
The bold 8-step DIY cleanup process
Ready for the ultimate DIY cleanup tips? Here’s the battle plan:
1. Purge like you mean it
Clear the area of everything that doesn’t belong—materials, tools, packaging, and the mysterious pile of screws you “might need someday.” Be ruthless. Separate into donate, recycle, and toss piles. Trust: you won’t miss the 47 half-empty caulk tubes.
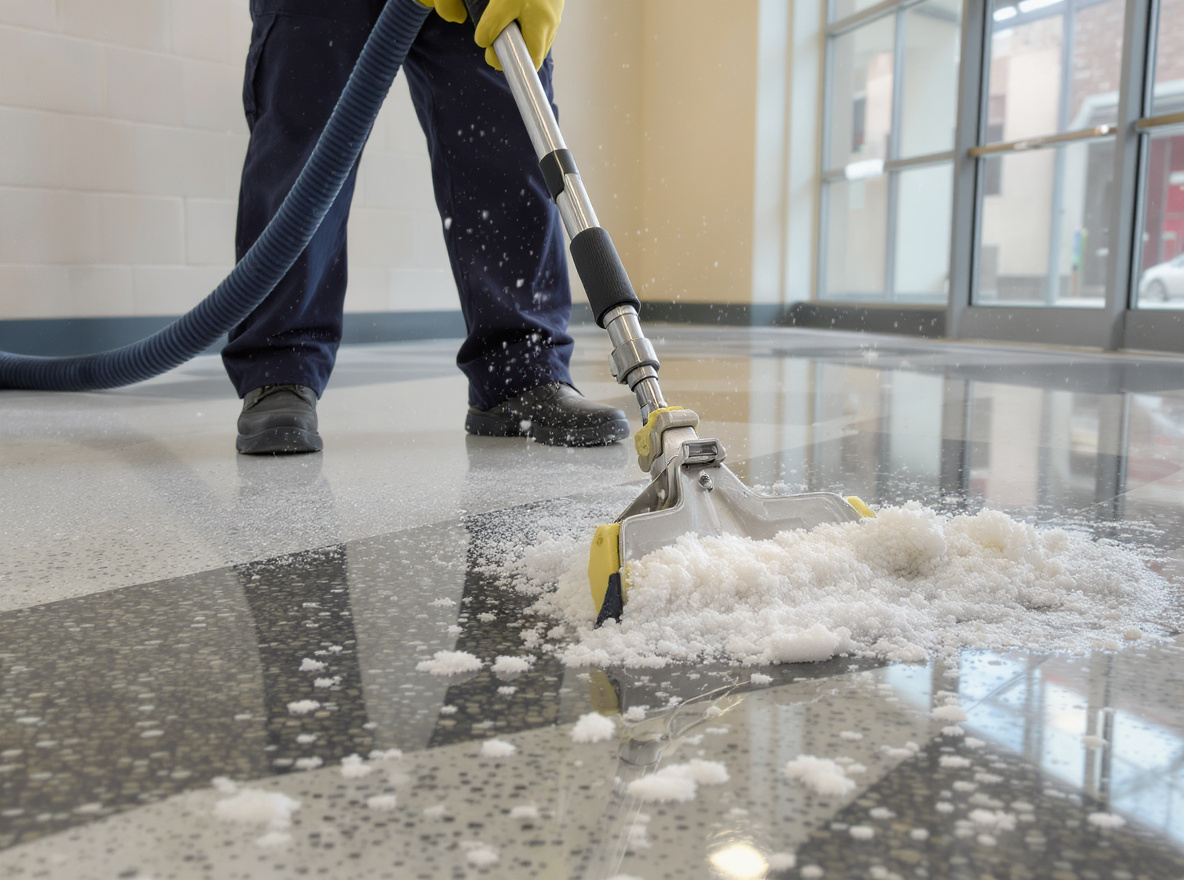
2. Sweep, vacuum, and conquer dust
DIY projects breed dust like rabbits. Start with the high spots—crown molding, shelves, light fixtures—and work your way down. Vacuum carpets, mop hard floors, and hit corners with attachments. For big, sawdust-heavy jobs, you want a shop vac, not a wimpy dustbuster.
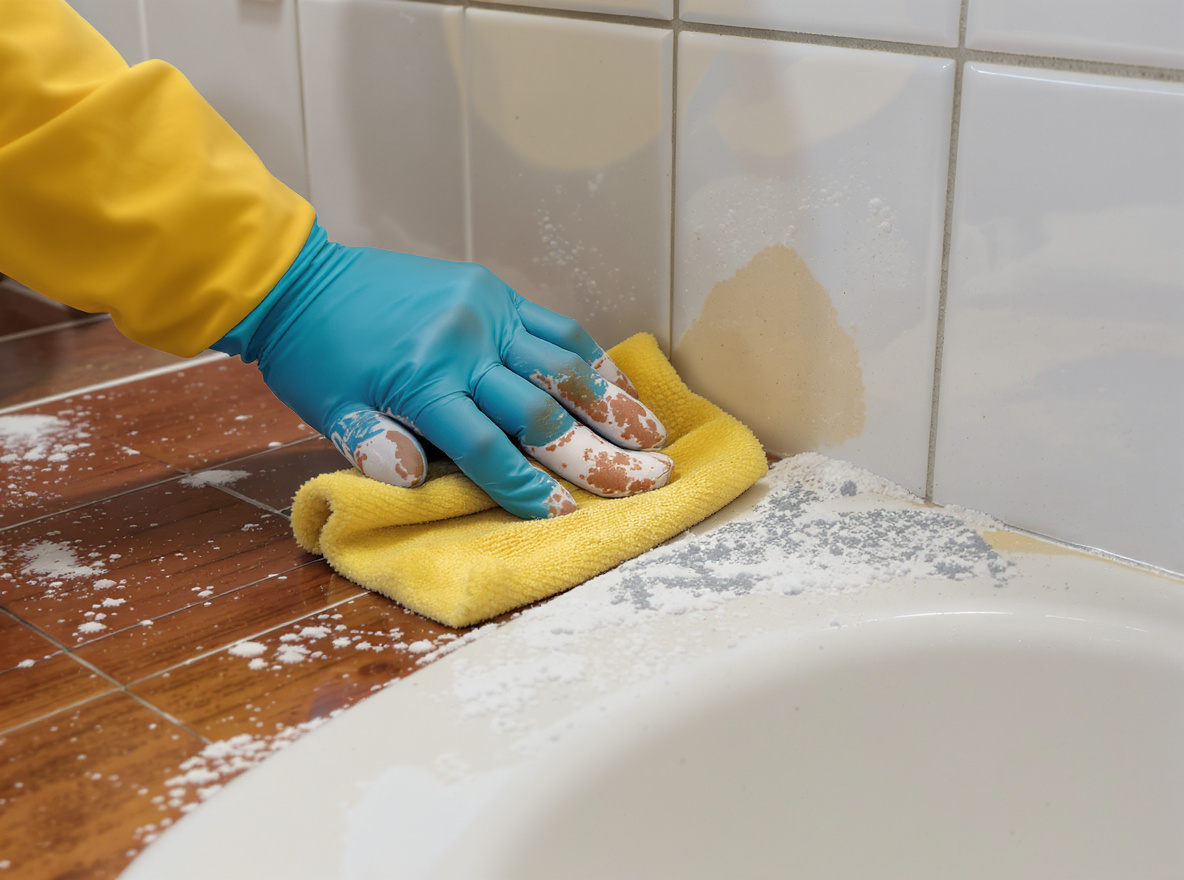
3. Wipe down every surface
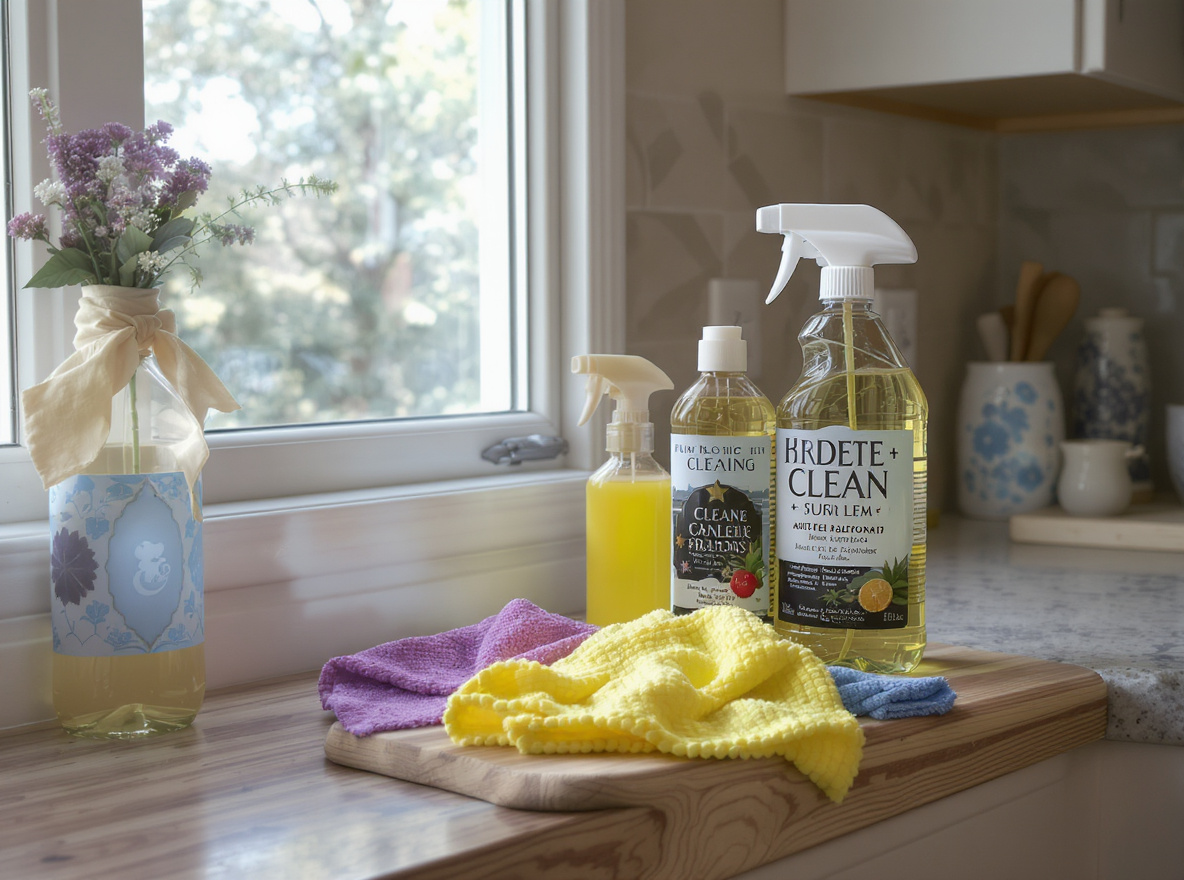
Damp cloths are your MVP. Wipe walls, counters, window sills, and inside cabinets (where dust loves to hide). Use soap and water for most surfaces; for paint or tougher jobs, a magic eraser can be shockingly effective. Want to feel extra pro? Use a microfiber cloth to banish streaks and static.
4. Detail cleaning for the win
Now’s your moment to tackle the odd jobs:
- Scrub grease or paint off cabinet doors
- Clean backsplash tiles
- Steam the microwave—or any appliance that got caught in the crossfire.
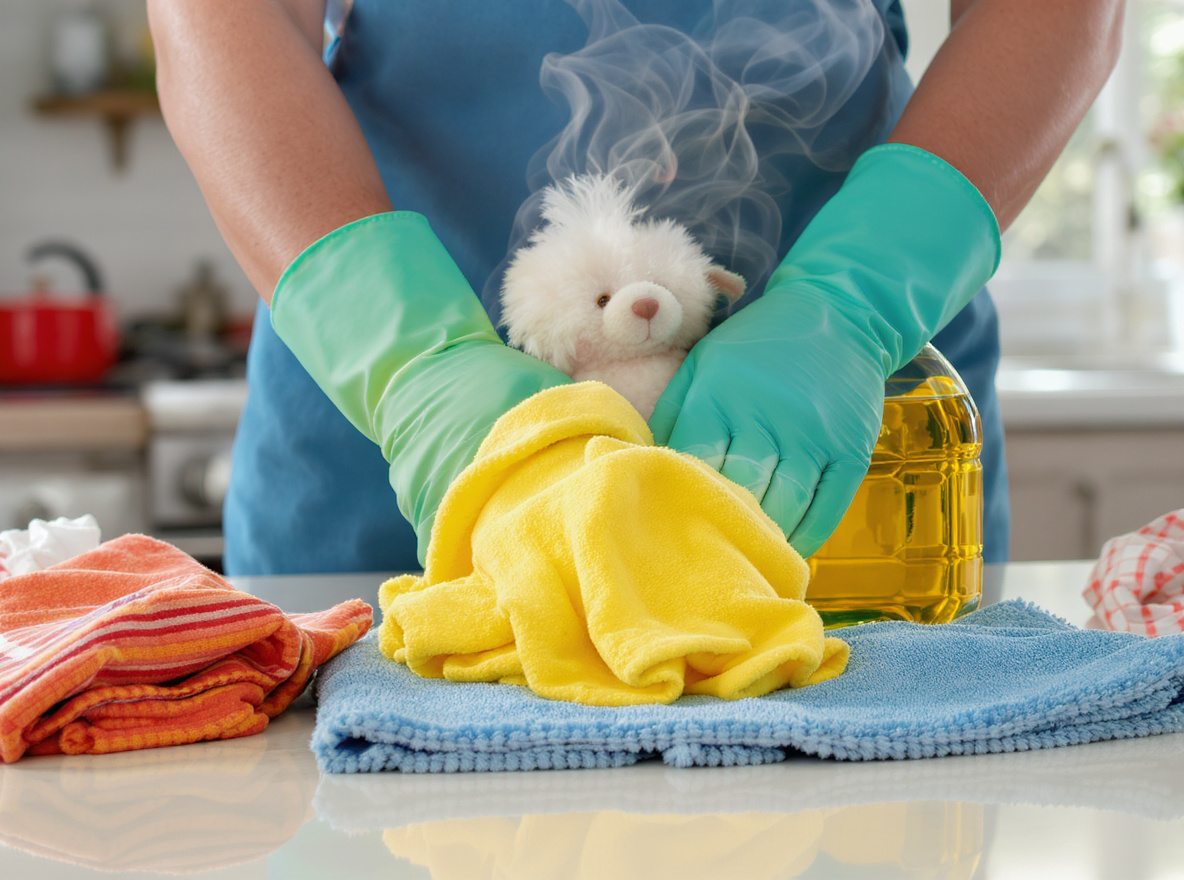
5. De-gunk and refresh
DIY often means sticky, gritty surfaces. Run a cup of white vinegar through your dishwasher for a deep clean. Zap a bowl of water and vinegar in your microwave, and suddenly, caked-on stains vanish.
6. Tool TLC
Before you toss tools back in the garage, give them a wipe down. Clean off paint brushes, empty dust from power tools, and store everything properly—future you will thank you.
7. Air it out
After all that scrubbing, open windows and let your home breathe. Fresh air helps dissipate lingering odors from paint, stain, or cleaning products—a crucial step in that “job well done” feeling.
8. Finishing touch: organization
Don’t just shove stuff back where you found it. Take the opportunity to organize your shed, closet, or storage bins. Reboot your space so the next tinkering mood hits, you’re ready to roll.

If you’re looking for a trusted and high-quality cleaning service in Buffalo, Tonawanda, or Amherst —
get a free quote online.
You can also call us at 716-289-1966.
Room-by-room DIY cleanup tips
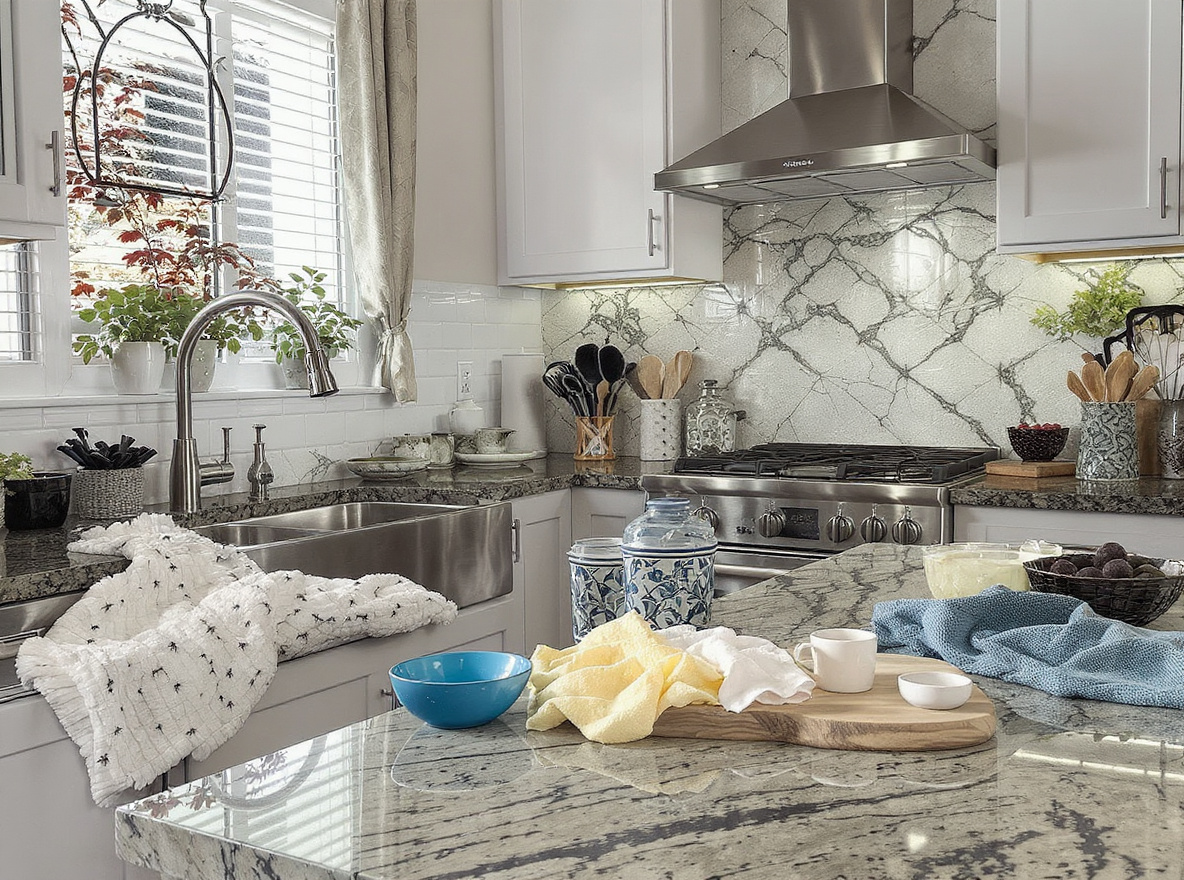
Kitchen
- Deep clean countertops, backsplash, and appliances
- Wipe fingerprints from stainless steel
- Organize your spice rack and toss expired condiments
- Run lemon rinds through the garbage disposal for freshness.
Living room
- Steam clean carpets and upholstery
- Disinfect remotes and controllers
- Touch up paint scuffs from drag-and-drop chaos.
Bathroom
- Scrub any grout or tile that caught project dust
- Disinfect surfaces and sinks
- Reorganize under-sink storage.
Garage/workshop
- Sweep out corners and under benches
- Clean and organize tool chests
- Safely dispose of rags and solvents.
Cleaning hacks born for DIYers
- Wipe before washing: Give mixing cups and tools a quick paper towel wipe before you dunk in water—avoids clogged sinks and caked-on messes.
- Magic eraser saves the day: Fingerprints, scuff marks, even paint on hardware—gone in a flash.
- Soap & water > harsh chemicals: For most finishes, gentler is better. Only go harsh if you absolutely have to.
- Steaming powers: Run the microwave with vinegar/water for 30 seconds—cooked-on messes wipe off easily.
- Vinegar machine: In the dishwasher, it dissolves grease and grime.
How to refresh home after project: beyond the cleanup
Once you’ve tackled the mess, push a little further. Refresh your home by:
- Swapping in new cabinet hardware or light fixtures for an instant energy boost (small details, big impact).
- Opening your windows for a natural reset.
- Reorganizing shelves or surfaces you disrupted for the project—don’t just put stuff back, make it better.
Spring cleaning, post-project, or just because—it feels damn good to walk into a space that’s better than you left it.
Smart SEO moves: post-DIY project cleaning keyword strategies
Right—let’s talk shop for digital dreamers. To make sure your DIY cleaning wisdom gets found:
- Use natural variations like “post-DIY project cleaning,” “clean after home DIY,” “DIY cleanup tips,” and “refresh home after project” throughout your content.
- Add long-tail, location-based keywords when relevant (example: “fast DIY cleanup tips for New York apartments”).
- Never keyword stuff. Focus on value, clarity, and punchy advice. Google (and readers) will love you for it.
The grand finale: revel in your clean space
Here’s the kicker: finishing a DIY project feels good, but restoring your home’s shine feels even better. Don’t let the cleanup be an afterthought—own it, enjoy it, and use it as the satisfying victory lap to all your hard work.
So next time you finish up a drywall marathon or a paint-fueled weekend blitz, don’t sigh at the mess. Roll up your sleeves, summon this guide, and transform cleanup into the final, triumphant act of your DIY saga.
Your home, your rules, your fresh start. Clean on, creator.

After a DIY project, no one wants to see a mess left behind. If you want to reclaim your space without the hassle,
get a free quote online or call 716-289-1966 to ensure your home in Buffalo, Amherst, or Tonawanda gets the care it deserves.
Say goodbye to the aftermath of your hard work and hello to a sparkling clean home!
Frequently asked questions
1. How long does it take to clean up after a DIY project?
The time varies based on the extent of the project; typically, it can take anywhere from a few hours to a day to clean up thoroughly.
2. What tools and supplies do I need for the cleanup?
Basic supplies include a broom, vacuum, mop, microfiber cloths, cleaning solutions, and garbage bags for waste disposal.
3. How can I effectively remove paint splatters?
Use a scrubber or a magic eraser with warm, soapy water or a specific paint remover for stubborn splatters.
4. Is it necessary to deep clean after small DIY tasks?
While a small project may not result in major mess, a light clean can help maintain the condition of your space and prevent dust accumulation.
5. Can I hire a cleaning service specifically for post-DIY projects?
Yes! Many cleaning services specialize in post-renovation cleaning to help restore your space quickly and efficiently.
6. How do I prevent future messes during DIY projects?
Setting up a designated workspace and using drop cloths can help minimize mess and make cleanup easier.
What people are saying about Starcore cleaning. Customer Testimonials.
Linda Johnson, Buffalo, Elmwood Village ⭐⭐⭐⭐⭐
Starcore Cleaning exceeded my expectations after my recent DIY home project. They left my kitchen sparkling clean, and no trace of paint or dust remained. I was especially pleased with their attention to detail around the cabinets and appliances. Highly recommend!
Type of cleaning: Post-DIY Kitchen Cleaning
Mike Thompson, Tonawanda, Kenmore ⭐⭐⭐⭐⭐
I hired Starcore for my garage cleanup after tackling some DIY shelving. They handled everything efficiently and professionally, getting rid of all the sawdust and leftover materials. I appreciated how they organized my tools afterward. Thanks a lot, Starcore!
Type of cleaning: Post-DIY Garage Cleanup