Skip to content


The ultimate guide to post-painting cleaning
If you’ve ever rolled up your sleeves and tackled a room (or a whole house) with a fresh coat of paint, you know there’s more to a successful DIY painting project than the thrill of transformation. What comes right after—the art of post-painting cleaning—is the unsung hero of home improvement. It’s what separates the pros from the one-time dabblers, ensures your tools live to paint another day, and keeps your home feeling genuinely refreshed after DIY painting. So before you toss those brushes in the sink and call it a day, let’s dig into the ultimate guide to clean after home painting—packed with actionable paint cleanup tips, gentle wisdom, and a few battle-tested hacks to refresh your home after DIY painting.
Why post-painting cleaning matters
Anyone can slop on a coat of color, but real DIY mastery is proven in how you clean up after home painting. Here’s why it matters:
- Tool longevity: Proper cleaning preserves your brushes and rollers for future projects, saving money and hassle.
- Aesthetic payoff: Scrubbed splatters, spotless floors, and gleaming fixtures are the hallmark of a job well done.
- Environmental impact: Mindful paint and solvent disposal keeps toxins out of your drains and out of the environment.
- Home refresh: The final effect looks and feels polished—clean lines, crisp trim, no stray drops stuck to your shoe five weeks later.
Let’s turn the mundane into a ritual. The right post-painting cleaning habits will make you feel like a paint-splattered superhero.
The pre-game plan: Clean-up starts before you paint
Want to make clean-up a breeze? Start before you even pop that can.
- Drop cloths are your best friend: Spread them over every inch of exposed floor—yes, even over that rug you swear you’ll “just work around.” Tape over windows and trim for maximum protection. For tricky baseboards, slip brown paper underneath—playing cards can help tuck it under the edge with zero fuss.
- Quality tools minimize mess: Invest in solid brushes and rollers. Cheap ones shed and splatter, turning clean-up into a nightmare.
- Prep your surfaces: Wipe down walls, vacuum the room, and dust everywhere. Paint clings to grime and dust like a magnet, making splatter more likely and harder to clean.
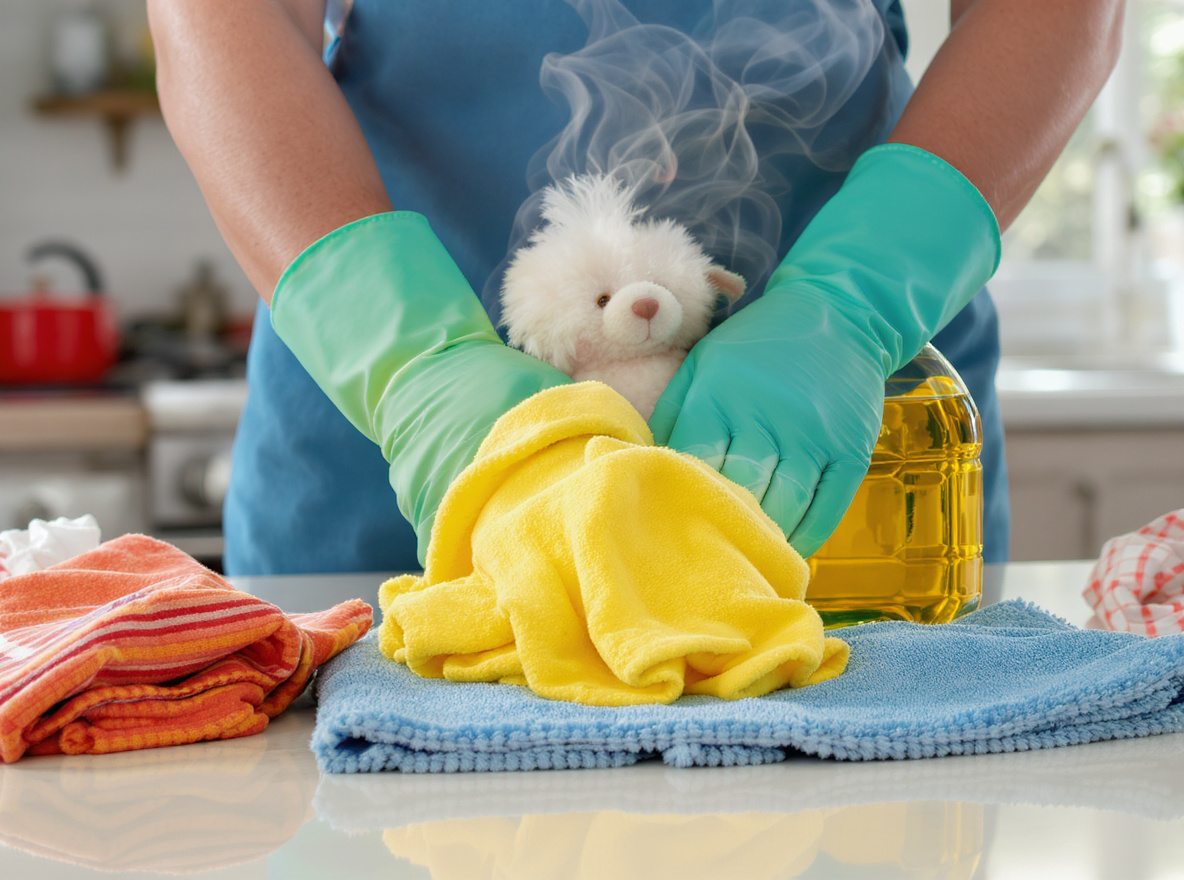
How to clean paint brushes and rollers like a pro
Water-based (acrylic/latex) paints
The golden age of paint is here: water-based formulas dominate, thanks to their lower odor, quick dry times, and—best of all—super easy clean-up.
Brushes:
- Wipe off as much excess paint as possible onto the rim of the can or a rag.
- Rinse under warm water until the water runs clear. For stubborn spots, work in a little mild soap or detergent.
- Use a brush comb or a 5-in-1 painter’s tool to gently separate bristles and comb out the final bits of paint.
- Once clean, reshape the bristles and hang or lay flat to dry—never standing on their heads, unless you want that brush to die young.
Rollers:
- Remove excess paint by rolling onto scrap cardboard or newspaper.
- Rinse the roller cover in warm water, squeezing and rolling repeatedly (a brush and roller cleaner or spinner makes this faster).
- Never soak the roller sleeve for extended periods—this can degrade the glue inside.
- Let the clean roller dry completely before storing.
Pro tip: Clean your painting tools immediately after you finish. Letting paint dry is an existential threat to both the bristles and your sanity.
Oil-based paints
Let’s be honest: oil-based paint is a beast. The look can be worth it, but the cleanup is all business.
- Skip the water—reach for mineral spirits or paint thinner instead, and always follow the manufacturer’s recommended ratios.
- Rinse in the solvent, then wash with soap and water, and dry as above.
- Dispose of used solvents responsibly—never down the drain.
Pro hacks for paint cleanup tips
- Paint brush comb: This $5 tool is worth its weight in gold, pulling out every last bit of paint and straightening bristles to perfection.
- Ivory bar soap: Old-school, but effective. Pre-treat brush bristles and stained clothes to break up stubborn pigment.
- Rubbing alcohol: For dried-on acrylics—soak the spot, let it sit, then scrub with a toothbrush. Works great on palettes, floors, and even the accidental splatter on your hands (but don’t overdo it on skin).
- Paper towel rim liner: Before pouring paint, line the well of the can with a paper towel to catch drips and keep the rim clean—making future sealing and pouring painless.
- Paint can clean-up: After your last brushstroke, wipe the rim of the can with a wet rag before sealing to prevent the lid from sticking shut and to avoid splatter next time you open it.

If you’re looking for a trusted and high-quality cleaning service in Buffalo, Tonawanda, or Amherst —
get a free quote online.
You can also call us at 716-289-1966.
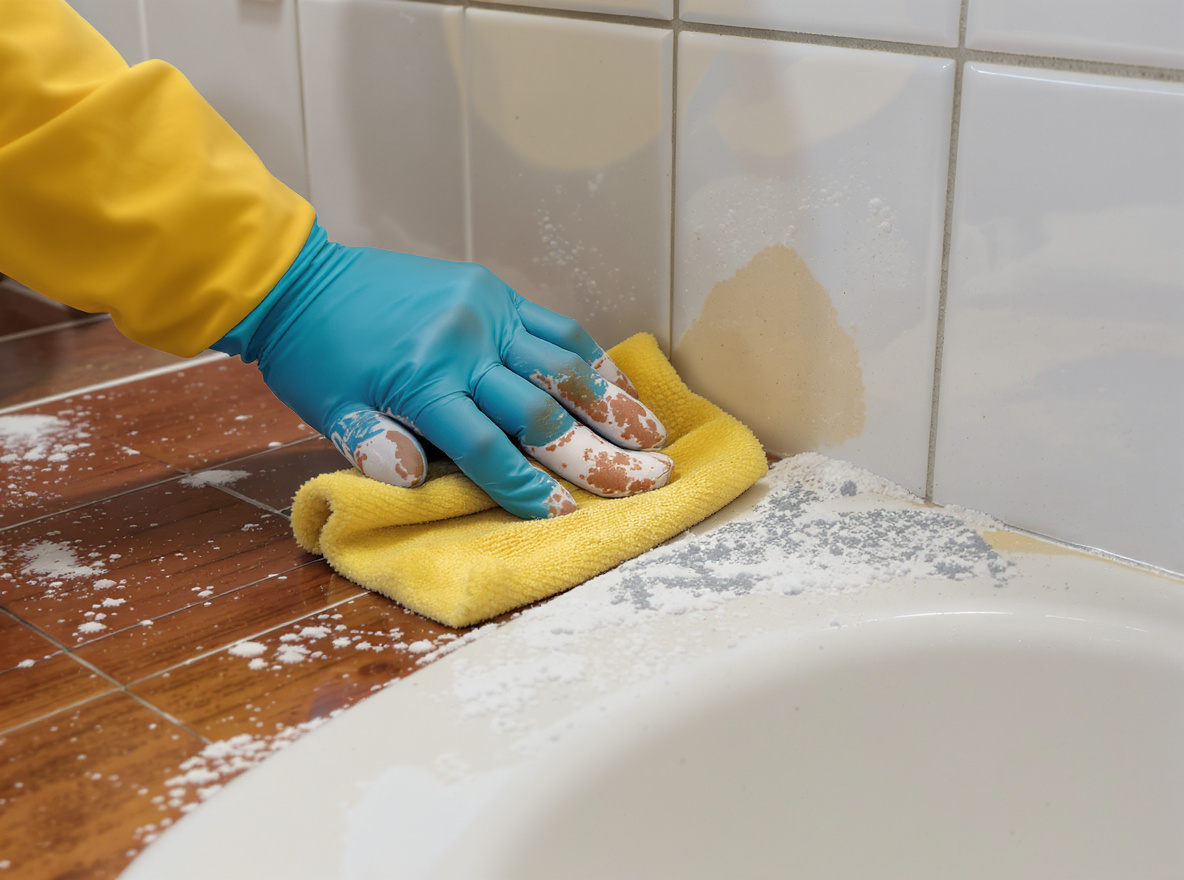
Handling splatters, drips, and stains: Battle strategies
Even the steadiest hand will leave behind a stray spot. The key is to act fast.
- Wet paint: Immediately blot (don’t rub!) with a damp rag, then gently wipe. Repeat as needed.
- Dried acrylic/latex: Soften with warm soapy water or rubbing alcohol, then scrape with a plastic scraper or your fingernail.
- Dried oil-based: Dab with mineral spirits or paint thinner on a rag, sparingly.
- On clothing: Pretreat with soap or rubbing alcohol, then launder as usual.
Pro-tip: For stained hands, baby wipes or a good scrub with castile soap does wonders.
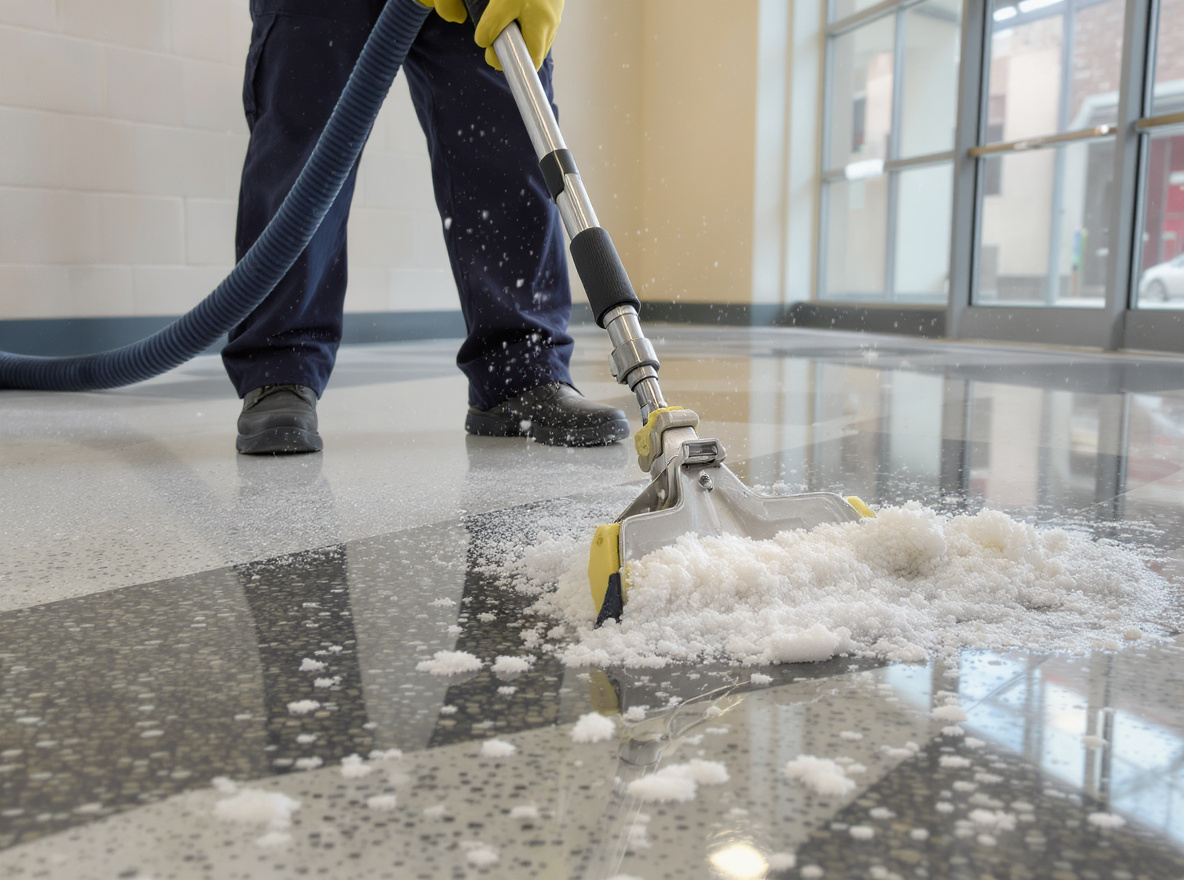
The room refresh: Bringing back clean air and order
A true home refresh after DIY painting means more than stashing your brushes and high-fiving your handiwork. Here’s how to put the finishing touch on your masterpiece:
- Air it out: Open windows and run fans. Water-based paints are low in VOCs, but lingering odors and moisture should be banished.
- Sweep, vacuum, mop: Go over every nook, cranny, and crevice—especially those corners that sucked up the dust you thought you cleaned.
- Wipe down surfaces: Light switches, doorknobs, and window ledges catch errant smudges or dust kicked up during painting. Hit them with a damp cloth.
- Polish fixtures and hardware: Use a non-abrasive cleaner to make everything shine.
- Reinstall outlet covers, curtains, and artwork: Replace what you removed for painting—just make sure the walls are truly dry first.
The final step: Proper paint and waste disposal
Never pour excess paint or solvents down the sink. Here’s what to do:
- Store leftover paint: Wipe the rim, seal tightly (using a rag for a splatter-free seal), and label with the date and room.
- Dispose responsibly: Take liquid paint or spent solvents to a household hazardous waste facility, or check if your city runs a paint recycling program.
- Dry and trash: For small amounts of leftover water-based paint, let them dry out in the can (leave the lid off in a well-ventilated area), then toss as solid waste.
Quick reference: Post-painting cleaning cheat sheet
| Task | Water-Based Paints | Oil-Based Paints |
|---|---|---|
| Brushes & Rollers | Warm soapy water, comb | Mineral spirits, then soap/water |
| Splatters (Fresh) | Damp rag | Dab with thinner |
| Splatters (Dry) | Soapy water or alcohol | Thinner, then scrape |
| Tool Storage | Dry flat or hang | Dry flat or hang |
| Leftover Paint | Seal, store cool/dry | Seal, store cool/dry |
| Waste Disposal | Dry, then trash/recycle | Hazardous waste facility |
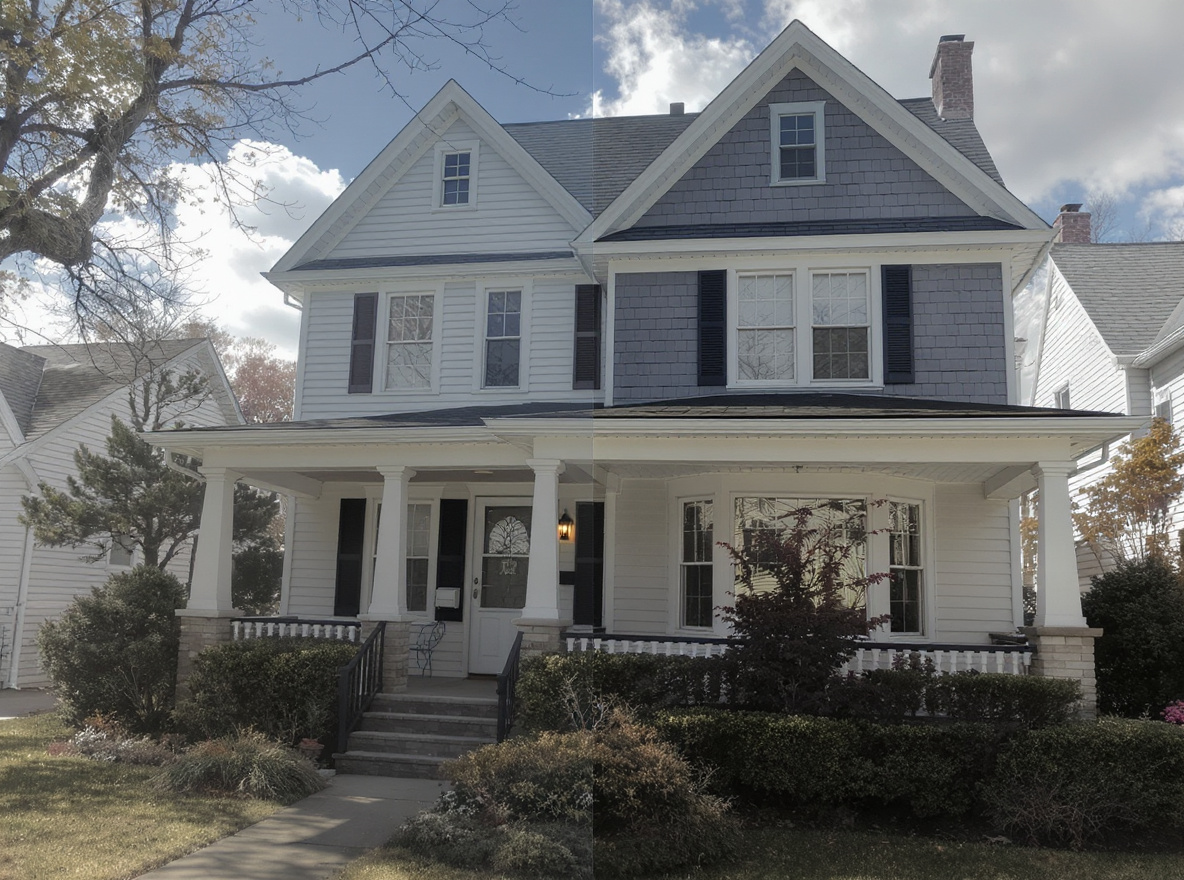
The big takeaway
The secret to a perfectly refreshed home after DIY painting isn’t just in those bold walls or pristine trim—it’s in the crisp, final sweep of your post-painting cleaning routine. Care for your tools, tackle those splatters, and treat each step as the closing chapter of your DIY story. Not only will your newly painted room look sharper, but you’ll be ready and eager to tackle your next home project—armed with pros’ paint cleanup tips and a truly clean, upgraded space.
You did the hard part. Now savor the satisfaction and, for a moment, breathe in the scent of your new surroundings—paint, pride, and that unmistakable hint of a job handled with skill. Now that’s a home refresh after DIY painting you can be proud of.

If you are overwhelmed with get a free quote online for your cleaning needs, don’t hesitate to reach out to us. Contact us at 716-289-1966 to discuss how we can help make your post-painting cleaning as stress-free as possible!
Frequently asked questions
1. How do I clean my paint brushes after using water-based paint?
Wipe off excess paint, rinse under warm water until clear, and use mild soap for stubborn spots. Reshape bristles and hang to dry.
2. What is the best way to remove dried paint from surfaces?
For dried acrylic, use warm soapy water or rubbing alcohol; for dried oil-based paint, dab with mineral spirits or paint thinner.
3. Can I pour leftover paint down the drain?
No, you should never pour paint down the drain. Dispose of it at a hazardous waste facility or let it dry out and throw it in the trash.
4. How can I prevent paint splatters while painting?
Use drop cloths, quality brushes, and tape around edges to minimize mess. Take your time and apply even pressure while painting.
5. What should I do with used paint thinner or solvents?
Take used solvents to a household hazardous waste facility for safe disposal, never down the drain.
6. How can I clean painted clothes?
Pre-treat with rubbing alcohol or soap and then launder as usual to remove paint stains.
What people are saying about Starcore cleaning. Customer Testimonials.
Jessica, Amherst
⭐️⭐️⭐️⭐️⭐️
“I was amazed at how thorough Starcore was when they helped me after my DIY painting project. They cleaned every inch of my home, including getting stubborn paint splatters off the floor and walls. Their attention to detail was impressive!”
Type of cleaning: Post-painting cleaning.
Michael, Tonawanda
⭐️⭐️⭐️⭐️⭐️
“After I painted my living room, I thought I could handle the cleanup myself, but it got overwhelming! Fortunately, I called Starcore, and they worked wonders. They cleaned my brushes, removed any paint stains, and made the whole room shine. Highly recommend them!”
Type of cleaning: Post-painting cleaning.