
The ultimate guide to cleaning your kitchen like a professional
Listen up, kitchen warriors. Your culinary kingdom deserves better than the half-hearted wipe-down you’ve been giving it. Whether you’re dealing with mysterious refrigerator odors or countertops that could tell stories of meals past, I’m about to transform you into a kitchen cleaning virtuoso.
This isn’t your grandmother’s cleaning guide. This is professional-grade, take-no-prisoners kitchen deep cleaning that’ll make even the most fastidious health inspector nod in approval. So grab your rubber gloves and prepare for battle—we’re about to make your kitchen so clean you could perform surgery on those countertops.
The psychology of a clean kitchen
Before we dive into the nitty-gritty, let’s talk about why this matters. A clean kitchen isn’t just about aesthetics or impressing unexpected visitors. It’s about creating a space that makes cooking easier, keeps your family healthy, and even helps your expensive appliances survive longer than that milk in the back of your fridge.
The kitchen isn’t just where meals happen—it’s where life happens. And all that living leaves behind evidence: grease splatters that tell the story of last month’s stir-fry adventures, mysterious sticky spots from who-knows-what, and enough crumbs to feed a small army of mice (which, by the way, you definitely don’t want).
Essential supplies: your cleaning arsenal
Every professional has their tools, and kitchen cleaning is no different. Before declaring war on grime, assemble your weapons:
The basics:
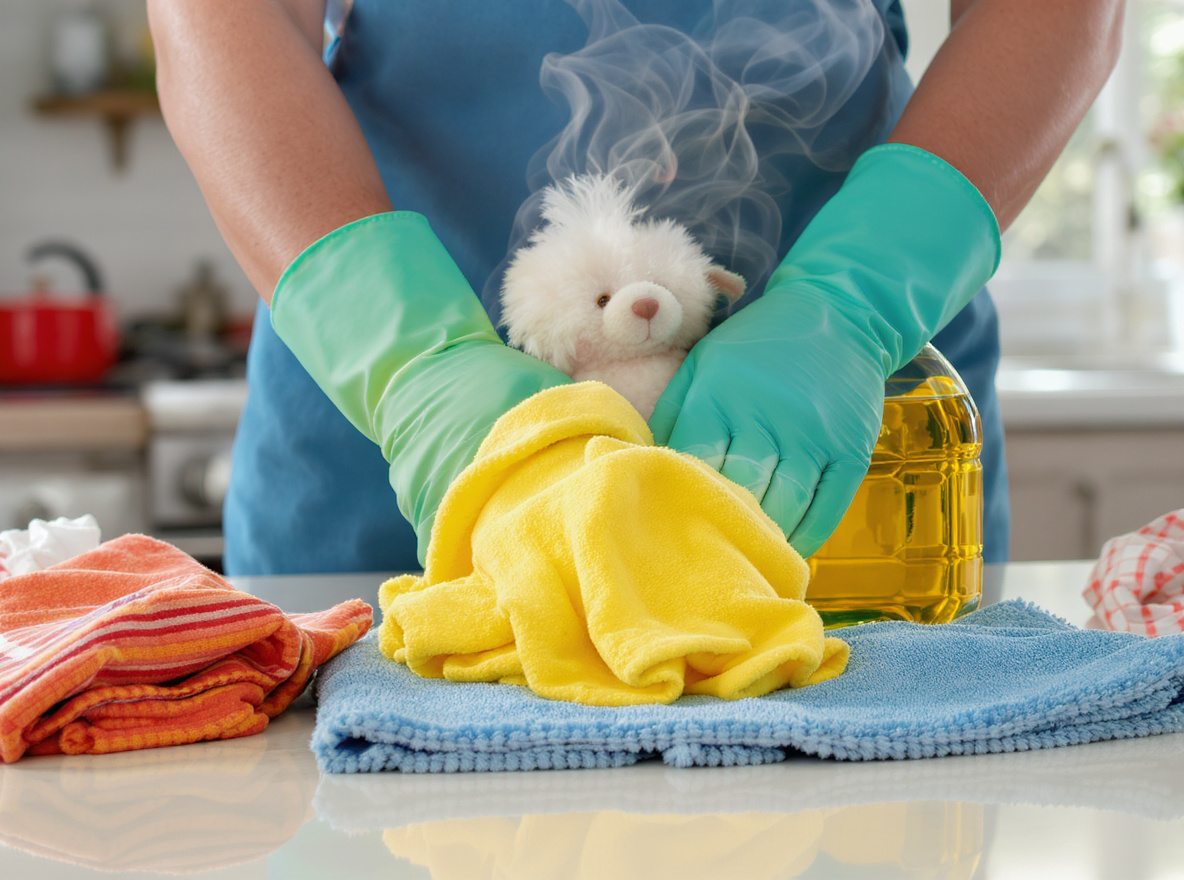
- Microfiber cloths (far superior to paper towels for most tasks)
- A long-handled scrubber (for reaching those awkward spots)
- A toothbrush (the retired soldier from your bathroom, perfect for crevices)
- Window cleaner
- Degreaser or dish soap
- Floor cleaner
- Stainless steel cleaner (if applicable)
- Baking soda (the unsung hero of kitchen cleaning)
Pro additions:
- White vinegar (nature’s disinfectant and odor eliminator)
- Rubber gloves (protect those hands!)
- A plastic dishpan for cleaning solutions
- Pipe cleaners or a butter knife for tight spaces and crevices
Zone defense: breaking down your kitchen battle plan
Trying to deep clean an entire kitchen at once is like trying to eat an entire Thanksgiving turkey in one bite—technically possible but highly inadvisable. Instead, we’re going to use what the pros call a zone-based approach.
Zone 1: The upper atmosphere
Light fixtures
- Turn off lights and let bulbs cool completely
- Replace any blown bulbs—might as well do it while you’re up there
- Wipe fixtures and bulbs with a slightly damp cloth
- Don’t forget ceiling fans if you have them—they’re secret dust collectors
Cabinet tops
If your cabinets don’t reach the ceiling, you’ve got yourself a premium dust collection system. Here’s how to deal:
- Remove all decorative items
- Use a handheld vacuum to remove dust
- For the truly brilliant: consider lining tops with Press ‘n Seal wrap that you can simply replace when dirty
- Spray with degreaser and wipe down—kitchen cabinets collect grease like teenagers collect excuses
Zone 2: Cabinet exteriors and interiors
Cabinet exteriors
- Work from top to bottom (gravity is your friend)
- Use a degreaser on wood cabinets, especially near the stove
- Pay special attention to handles and edges where fingerprints congregate
- A toothbrush is perfect for getting into ornate cabinet details
Cabinet interiors
This is where things get real. Time to face what you’ve been hiding from guests:
- Empty one cabinet at a time (don’t create total chaos)
- Vacuum out crumbs and debris
- Wipe down shelves with warm, soapy water
- Consider replacing shelf liners if you use them
- Purge items you haven’t used since the Obama administration
- Organize as you replace items (future you will be grateful)

If you’re looking for a trusted and high-quality cleaning service in Buffalo, Tonawanda, or Amherst —
get a free quote online.
You can also call us at 716-289-1966.
The cold zones: Refrigerator and freezer deep dive
The refrigerator—that magical box where good intentions (in the form of vegetables) go to die. Let’s resurrect it:
Freezer detox
- Remove everything and place items in a cooler
- Perform the Great Purge of freezer-burned mysteries
- Unplug and defrost by placing a pot of hot water inside (accelerates the process)
- Clean the interior with soapy water, including door seals
- Wipe everything down, plug it back in, and reorganize with military precision
Refrigerator revival
- Empty completely, tossing science experiments and condiments from the last decade
- Remove shelves and drawers for a soapy bath
- Clean the interior with a mixture of warm water and mild dish soap
- Don’t forget the door seals—they harbor more crumbs than a toddler’s car seat
- Wipe down exterior, paying special attention to handles
- Replace items in organized fashion, with frequently used items at eye level
The hot zone: Oven, stovetop, and small appliances
Oven transformation
- Remove racks for separate cleaning
- For self-cleaning ovens: follow manufacturer instructions (and open windows!)
- For manual cleaning: use an oven cleaner or baking soda paste for tough spots
- Don’t forget the oven door—inside, outside, and that tricky space between glass panels
Stovetop salvation
- Remove burner grates/electric coils if possible
- Soak removable parts in hot, soapy water
- Use a degreaser on stubborn spots
- For gas stoves, ensure burner holes are clean and unclogged
- Wipe down control knobs (after checking if they’re removable)
Small appliance detailing
- Toaster: Unplug, empty crumb tray, shake upside down over sink (surprisingly satisfying)
- Microwave: Heat bowl of water with lemon for 3 minutes, then wipe down interior
- Coffee maker: Run vinegar solution through cycle, followed by plain water rinses
- Blender: Blend warm soapy water to clean blades, then disassemble for thorough cleaning
Countertop commandments: Surface-specific strategies
Different countertops require different treatment. Using the wrong cleaner is like using shampoo as body wash—it might seem fine at first, but you’ll regret it eventually.
Granite glory
- Daily cleaning: Soft, dry sponge for spills and dust
- Deep cleaning: Non-acidic cleaner like Seventh Generation Dish Soap
- Avoid vinegar or acidic cleaners that can damage the seal
- Consider resealing every 6-12 months to maintain protection
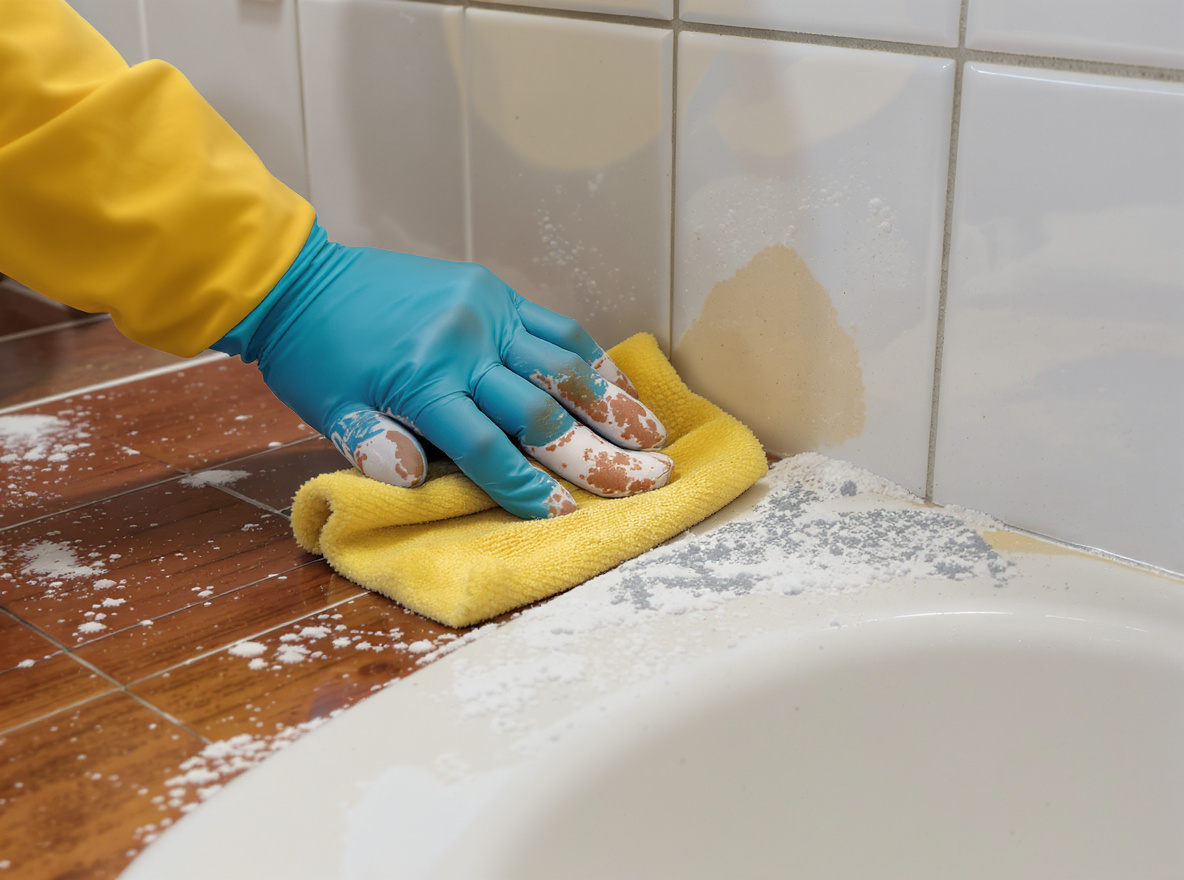
Tile tactics
- Clean daily to prevent mold and bacteria
- Avoid soap-based cleaners that leave residue
- Use non-corrosive cleaners and rinse thoroughly
- Don’t forget the grout—a paste of baking soda and water with a toothbrush works wonders
Laminate logic
- Wipe with mild dish soap solution
- Avoid abrasive cleaners that can scratch
- For stubborn stains, a paste of baking soda and water works well
- Dry thoroughly to prevent water damage
The disinfection station: Making counters safe
Cleaning removes the visible grime, but disinfecting kills the invisible threats. Here’s how the pros do it:
With bleach (the nuclear option):
- Clear the counter completely
- Pre-clean surface of visible debris
- Mix 1/3 cup bleach with 1 gallon water in a plastic dishpan
- Apply solution with sponge until surface is completely wet
- Keep surface wet for a full 6 minutes (set a timer—this is crucial)
- Rinse thoroughly with clean water
- Air dry
Without bleach (for the chemically cautious):
- Clear and pre-clean surface
- Use a bleach-free disinfectant labeled as food-safe
- Follow contact time instructions on the product
- Some products don’t require rinsing, which is a time-saver
The forgotten zones: Areas that need your attention
The dishwasher dilemma
Your dishwasher needs cleaning too—ironic, isn’t it?
- Remove spray arms, filter, racks, and utensil holders
- Clean these parts with hot, soapy water
- Pour two cups of white vinegar in the bottom and run a regular cycle
- Clean the exterior and door seals
- Run an empty cycle with just water to rinse everything
Sink salvation
- Make a paste with baking soda and water
- Scrub with a non-abrasive sponge
- Clean with soap and water, then rinse with hot water
- Use a microfiber cloth for the faucet and handles
- Buff with a dry cloth for extra shine
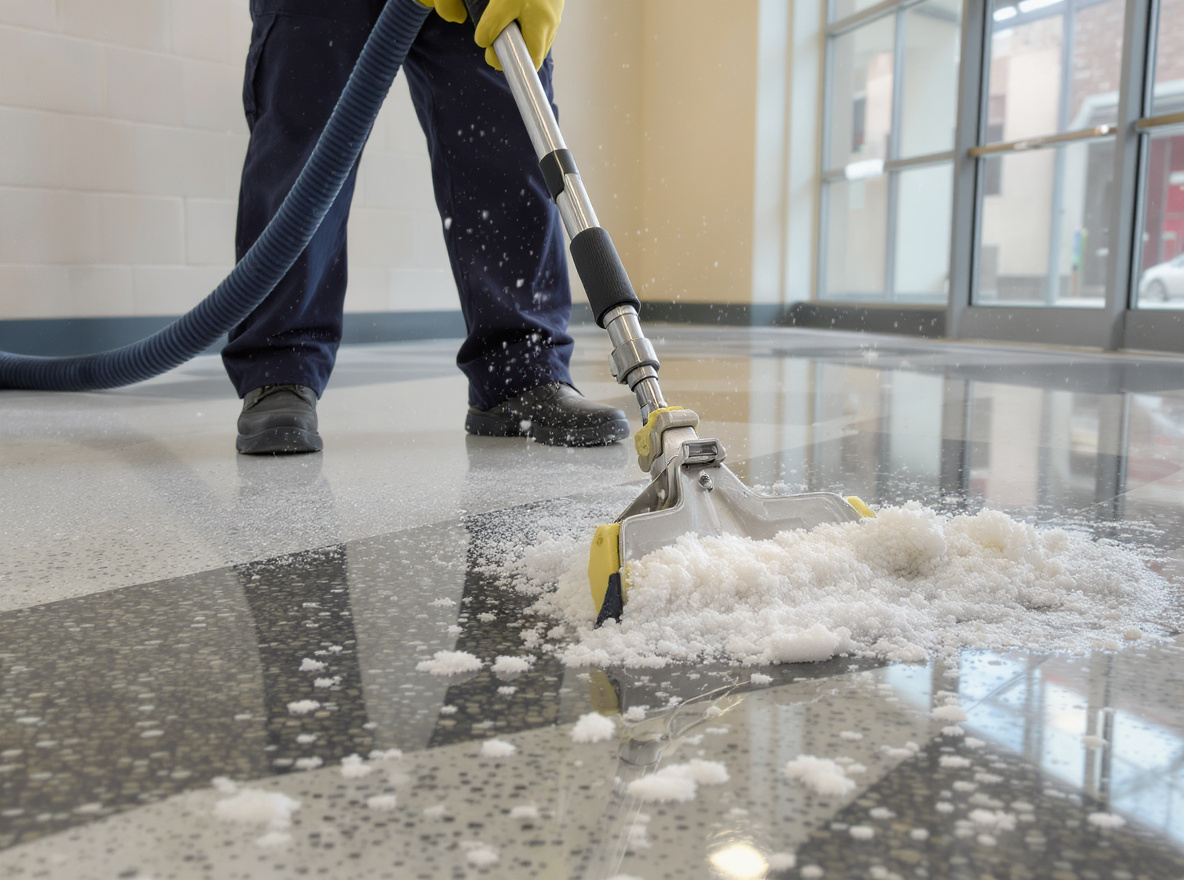
The floor finale
- Sweep or vacuum to remove debris
- Mop with appropriate cleaner for your floor type
- Don’t forget the corners and under appliances
- Consider moving refrigerator and stove occasionally for thorough cleaning (you might find that missing spatula)
The maintenance manifesto: Keeping it clean
After your epic deep clean, the last thing you want is to start from scratch next month. Implement these professional habits:
Daily practices:
- Wipe counters after each meal
- Clean spills immediately
- Empty the sink before bed
- Run the dishwasher at night
- Sweep high-traffic areas
Weekly rituals:
- Mop floors
- Clean microwave interior
- Wipe down refrigerator shelves
- Sanitize sponges and dishcloths
- Quick-clean the stovetop
Monthly missions:
- Deep clean one appliance
- Descale coffee maker and kettle
- Clean out one cabinet or drawer
- Check for expired foods
- Wipe down cabinet exteriors
The final shine: Pro tips you won’t find elsewhere
Stainless steel secrets:
Make a paste of baking soda and water, gently rub onto surfaces, rinse, and wipe dry for a professional-grade shine.
Dishwasher detox:
Place a cup of vinegar upright on the top or bottom rack and run a cycle without detergent to break up buildup and neutralize odors.
Cutting board revival:
Sprinkle with coarse salt, scrub with half a lemon, rinse, and air dry to disinfect and remove odors.
Drain maintenance:
Pour boiling water down drains weekly to prevent buildup and odors.
Microwave marvel:
Place a bowl with water and lemon slices, microwave for 3 minutes, and let sit for 5 minutes. The steam will loosen dried-on food and eliminate odors.
Conclusion: The professional’s perspective
A truly clean kitchen isn’t just about appearance—it’s about function, safety, and creating an environment where culinary creativity can thrive. Professional kitchens maintain rigorous cleaning standards not because they’re obsessive, but because they understand that cleanliness is the foundation of everything that happens in that space.
By adopting these professional-grade cleaning techniques, you’re not just removing visible dirt—you’re creating a healthier environment, extending the life of your appliances, and transforming your kitchen into a space that inspires rather than overwhelms.
Remember, the difference between an amateur and a professional isn’t just skill—it’s consistency. Integrate these practices into your routine, and you’ll never again face the daunting prospect of a kitchen that requires hazmat gear to clean. Instead, you’ll maintain a space that’s always ready for whatever culinary adventure you decide to embark upon next.
Now go forth and clean like a pro. Your kitchen is waiting for its transformation.

If keeping your kitchen clean feels like an endless chore, it might be time to consider professional help. Whether you’re in Amherst, Tonawanda, or Buffalo, get a free quote online and make your life easier by letting us handle the cleaning. Reach out to us at 716-289-1966 for a fresh start!
Frequently asked questions
- How often should I deep clean my kitchen? It’s recommended to deep clean your kitchen at least once every season, but keep up with daily and weekly cleaning tasks to maintain cleanliness.
- What natural cleaning solutions can I use? You can use a mixture of vinegar and water for general cleaning, baking soda for scrubbing, and lemon for deodorizing.
- How do I clean stubborn stains from my countertops? For tougher stains, apply a baking soda paste (water and baking soda mixed) directly onto the stain, let it sit for a while, then scrub gently.
- Is it safe to use bleach in the kitchen? Yes, but be sure to use it properly. Always dilute bleach and never mix it with ammonia or other cleaners.
- How do I maintain my dishwasher? Regularly clean the filter, run a vinegar cycle monthly, and ensure you wipe down the door seals and exterior.